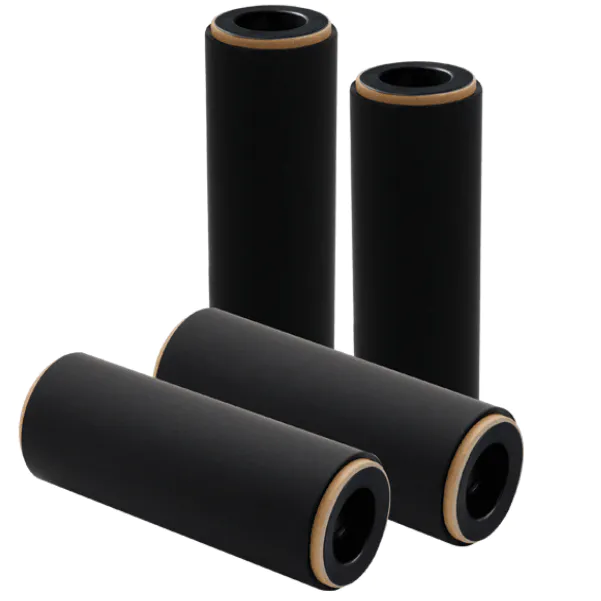
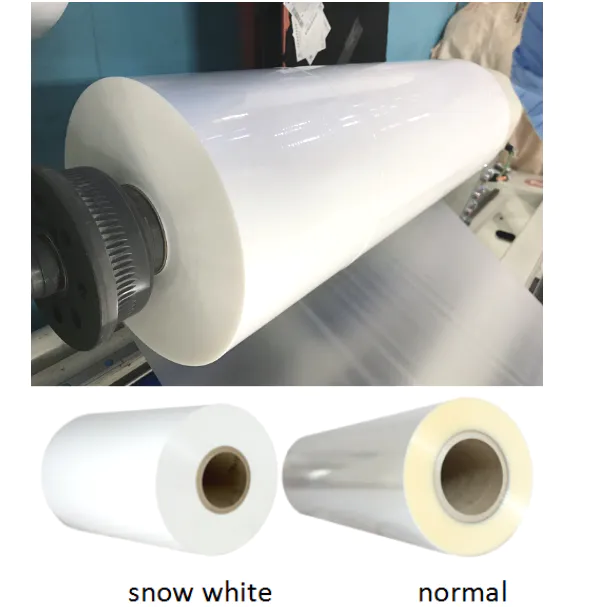
Carton Packing For Bopp Thermal Film And Soft Touch Film
diy phone trigger buttons (pubg/ ros/ fornite)
by:Top-In
2020-08-07
Some trigger buttons for 3D printing phones!
Play FPS shooting games and royal battle games like a pro on the go!
Fortnite Mobile, survival rules and knives, especially PUBG Mobile, work really well!
It only needs to clip and slide on the edge of the phone to provide you with the classic PSP style L & R button immediately!
Watch the full video tutorial: Check out discounts on hobby items, 3D printers, done, RC cars, DIY modules, and more on the annual gearbest sale! (
Link: Gearbest annual sales)
I did this project!
The game is in structure.
So how does this project fit into it?
First of all, the whole project relies heavily on aluminum belts!
Not to mention, double-sided padding also plays a huge role here.
3D printed parts are just to make the project look more professional and feel more professional.
What is the aluminum belt?
I only recently discovered that the aluminum strip actually exists.
Local hardware shops in the roof section can easily find them.
Obviously, they are relatively cheap and are very good conductive adhesives.
Aluminum comes with a variety of uses, from house repairs to minor repairs for aircraft and racing!
Today, I gave it another use, it was used by capacitive touch conduction!
I recently found out that you can use foil or aluminum tape on your phone screen to trigger it from a very small distance.
When you stick the aluminum tape to the screen and touch the other end with your finger, your phone still interprets it as touch.
How the touch screen works: Here is a video explaining how the touch screen works.
The whole project revolves around the concept of capacitive touch.
This explains the working principle of foil experiment well.
This is only because most phones now have capacitive touch screen panels.
It detects the touch by changing the capacitance.
In physics, the capacitance is defined as \"energy stored in static power \"(
There is an insulator between two metal plates).
Placing the foil on the screen will only produce a slight change in the capacitance, but holding the foil with your fingertips will make a bigger change.
Just add a lever switch mechanism and you have a DIY phone trigger button!
Question: Have you ever played open world shooter on your phone?
If so, you must hate the touch screen experience.
Unlike the classic PSP, it\'s hard to press without a physical button.
My design: I am trying to come up with a simple but effective mechanism for my project design.
As soon as I figured it out, I began to write it on a piece of paper.
Anyway, I haven\'t made it look good since I was going to 3D model it with software.
Mechanism: Mechanical status of the mechanism: Adhesive: homemade 3D printed parts: hardware parts: tools and equipment: 3D modeling of the project: I applied what I learned from college, and designed my plastic parts using Solidworks.
I did a lot of manual sketches before I did 3D modeling on my computer.
I input the measurement results with a digital card clamp.
The whole design is based on my Galaxy S8, which is a good option as most phones today are almost the same thickness as it is.
Some of my designs fail, some are unstable, but this is the most reliable and simple lever action design I have in six designs.
If you guys want to print your own files or you want to adjust and modify it, these files are in the link below.
The 3D print file can be downloaded from the link below.
For novice 3D printing, please download the STL file.
STL is a common 3D model file that most slice software can read.
You can download the Solidworks file if you want to modify my design.
STL file package: click download solidworks Raw file: click download my 3D printer settings: this is the 3D printed version of my capacitive phone trigger project.
I\'m also working on a non-3D printed version for those who can\'t access the 3D printer.
When printing parts in 3D, if you want to get good quality, I suggest you print them one by one.
When you print them into a group, it will be faster, as I did here, but you will sacrifice a little print quality.
Overall it took me about 30 minutes to finish the printing.
I won an SLA 3D printer in ibles\'s full spectrum competition, but SLA resin is too expensive for casual printing.
I use it a lot, but I keep the resin as much as I can.
The print resolution is very smooth.
I decided to keep it because SLA resin will one day become cheaper when SLA printers become more common.
My first 3D printer (ANET A6)
: A year ago, I was looking for a FDM 3D printer with an affordable, fairly large print size of 210x270 or higher.
Fortunately, Gearbest.
Com introduced me to their website and I found this, a very decent 3D printer kit for less than $180.
We ended up making a few collages and they ended up giving me this for free.
I have been using this FDM 3D printer for almost a year so far and I love it.
There have been no problems so far.
My favorite part is Assembly.
It\'s a kit so I have to assemble it from scratch.
This is a real learning experience!
I am familiar with how a 3D printer works.
Surprisingly, there is something in the box that I need (
Literally everything).
To my surprise, it comes with some tools, 16 gb SD card, card reader and 1 kg PLA filament spool!
This is really the perfect 3D printer that makes me like 3D printing.
I can recommend this to experienced manufacturers who wish to enter the field of 3D printing.
You can buy from this link and get a 20% discount: they will be on mid-year sales in June 17!
If you are interested in purchasing a 3D printer, you can enjoy a discount of up to 50%.
You can access the link below: a unique quality of 3D printed parts is layered lines.
I chose to polish it with sand to remove the lines so that the plastic would feel smoother.
Grind the plastic flat with a 400 piece of sandpaper.
For areas that are difficult to reach, please use your metal file.
There is also a better method called \"acetone steam method \".
The output looks like the part is injected.
For more information, here is a \"DIY benefits\" Tutorial on acetone steam curing.
The lever should move freely on the pin.
If the diameter of your rivet pin is greater than the hole of the 3D print Rod pat, make sure to drill a larger hole through it so that it can move freely.
Use your cutter and ruler to cut an aluminum strip from your aluminum tape roll.
To make the next steps of this tutorial clear, I showed this step.
The aluminum belt is like a sticker.
Peel off the plastic to reveal the adhesive and wrap the aluminum strip around the lever.
The aluminum belt here is carried out with fingers.
Making a spring is really tedious and it can be even more difficult to find a spring suitable for this project.
To save you some time, I have designed a way to make a spring with something you already have.
It turns out that fixing these double-sided padded tape together is a very good spring!
But be sure to buy a sponge because the Red 3 m car tape is too hard.
Cut the double-sided padded tape of four squares and at 4-
5 of them are placed on top of each other and then cut it into smaller strips.
Place the easy spring at the bottom of the lever using tweezers (
Between two blocks/curves).
Cut a large square aluminum strip and stick it to the top of the aluminum strip above the sponge.
This part is where you are translated from the touch on the lever to the touch on the screen.
When your finger and lever are in contact with the conductive path, it must be very large in order for your phone to receive a change in capacitance.
Wrap aluminum around the base.
This is done to continue the conductive path from the contact point to the lever.
Cut two double rectangles
Double side padded tape.
Under the clip: put one under the clip, this is very important.
Phones with metal edges like IPhone 6/7/8/X and Samsung Galaxy S8/s9.
The foil under the clip cannot touch the edge of the phone, otherwise it will trigger the touch screen.
To isolate this, use your double cushion thick pad
Double side padded tape.
Pillar: another pair of pads
Double-sided padded tape must be added to a wider Post.
I did this to make this project perfect once you clip it on your phone.
I added heat shrinkage to protect the contact point (
Aluminum foil for tips)
This way, when you clip the trigger item to your phone, it won\'t be torn or creases.
It can also prevent your screen from being scratched by aluminum.
Yes, no matter how thin the soft aluminum is, it can scratch your screen without rubber (heatshrink)on top of it. Heat-
Non-Shrink tube
So, in the video, how did you drive through the capacitive battery on the screen?
In Engineering Physics, the capacitance occurs when there are two conductive elements between the insulators.
By definition, capacitance is the ability to store energy in an electrostatic field.
This means that the \"capacity\" screen of your phone is still able to receive changes in the capacitance, thus explaining it when the finger strikes.
Grab your rivets and cut them into pieces with pliers (1. 4mm long).
In my design phase: when I was in the process of designing the project prototype, I used chicken lines as my pins, but it turned out that they were too soft (
They bend too much).
I found a solution to this problem, which is to cut off a part of the rivet.
The rivet has a very strong and rigid pin, making it the ideal pin source for the lever mechanism.
After all the other components have been assembled, it\'s time to put them together.
Grab the lever and carefully align it with the clip.
Insert a pin on each trigger to connect the two parts together.
You\'re done!
The final product should be like this.
This project is expected to give you a better goal and game in FPS shooting games and royal battle games.
In order for the project to work properly, you must go to the game settings and remap the required buttons to the upper part of the screen.
If you like the project, please vote for \"stick to it!
\"Thank you very much!
Hope you guys like this project!
Custom message
Related Products