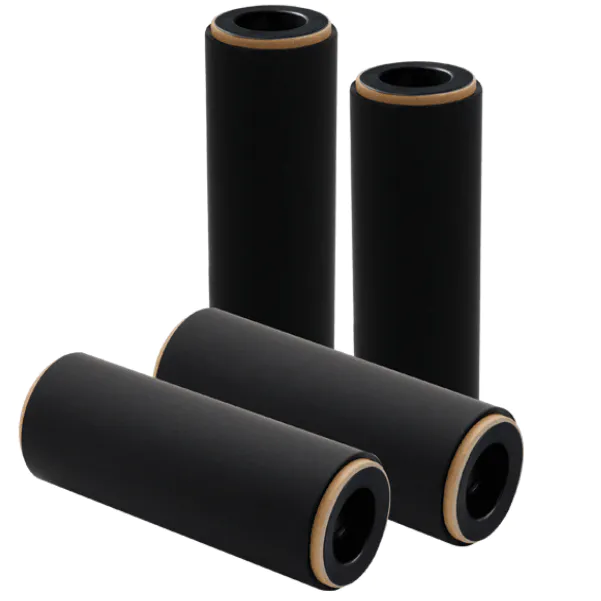
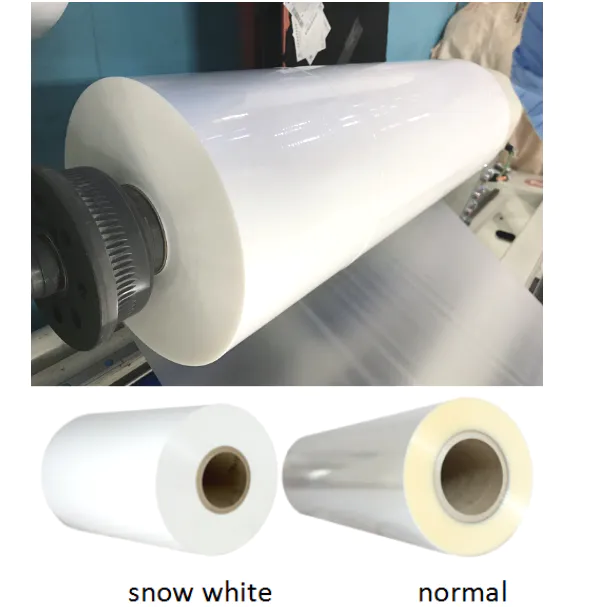
Carton Packing For Bopp Thermal Film And Soft Touch Film
high voltage car ignition coil project
by:Top-In
2020-07-17
Of course, you need an ignition coil first.
These are easy to find new or use.
The normal type of metal can be from J. C.
Whitney for over $18, or you can buy from a local salvage yard.
I bought mine on eBay for $9.
They are Accel \"super coils\" capable of up to 50,000 v \".
If it\'s just for better quality and higher safety factor, I suggest you get high value coils.
Next you need a home dimmer switch.
Buy one of the simplest and cheapest you can find.
From Home Depot to about $8 for me.
Rated power is 600 watts.
Buy a cheap nylon cover to match.
You need a film capacitor.
More information about this key component.
You need some wires.
I rescued some from a toaster oven and an electric fan.
When the device runs out of 110 v ac current at home, leave the plug on the wall on a wire.
You need a box of some sort to install your components.
I have a wooden craft box (
Purchased at the Michaels crafts store for less than $5). It measures 8. 5\" by 5. 5\" by 3.
25 \", there is a hinge cover.
It turns out to be a convenient size.
You can buy an electronic hobby box from the radio shed if you like, but the wooden case is cheaper.
Other parts you need:1)
A half inch PVC pipe end cap of 5 inch or 5mm in diameter is about 3/16 smooth metal rod.
Preferably copper or brass. (1)10-
Brass thumb nut (size 32)1)10-
32 threaded aluminum bracket, 1 inch long (1)10-
32 threaded rods, about 3 inch long (2)
Brass cotter pin, 2. 5\" long(2)
It is best to have an insulated crocodile clip.
I didn\'t have them in the photo, so I had to jacket them with vinyl pipes. (2)crimp-
On the ring connector suitable for the wire you use (2)
Plug connector, half length
Bas Wood (square inch)
4 inch will do)
A spring cap wooden screw that can pass through the center of the pin. The spring has several strong rubber bands (2)
Small nylon zipper tape, curling tools, peeling, etc.
Get your wooden case dirty if you want, and apply it with two or three layers of polyurethane to seal it.
Measure the lower side of the dimmer switch and mark a rectangle on the lid of the box.
Drill holes at the corners of the rectangle and then use the key hole saw or X-
Acto saw cut off the rest of the rectangle.
Install the switch on the lid with two short wooden screws.
Install the trim plate on the outside of the switch.
After the lid is opened, take the square bas wood half an inch long and stick it to the lower right corner with glue.
Let the glue dry.
Take the clothes and place it on one side along about half of the basswood stand.
Twist an inch-long wood screw through the center \"eyes\" of the hinge spring.
Don\'t be too tight.
Let the clothes turn a little.
Drill a hole at one end of the box, but center.
Power with a wire connecting the wall plug.
About 4 inch apart the wires (
It is to divide the molded plastic wire into two strands with a sharp knife).
If the wire is marked, or if you can track the positive line, connect it to the dimmer switch wire with a curl
Docking Connector.
The other line is the yin line.
About 18 inch with two wires.
Remove the plug at all four ends and peel off.
About 8 inch apart one end of the rope.
Drill two properly sized holes at the other end of the box and feed them separately in two strands, one for each hole.
Connect the wires--
The one next to the wall of the box closest to you-
Connect to the power cord ground wire using curl-
Docking Connector.
Separate the other end of the output lead by about 3 inch and curl on two ring connectors in size to fit the coil 10-32 terminals.
Connect the crocodile clip to the unused wire from the dimmer.
Connect another crocodile clip to another output line.
Put a nylon zipper tie on the output lead inside the box, and put a similar tie on the outside wire to reduce any pull stress on the wire.
Cut a thick rubber band in half.
Tie it around the power cord several times to reduce the pressure on the power cord.
Wrap a few turns of tape at the output of the coil.
This will ensure a comfortable rubbing fit for the PVC cap.
Drill 3/16 holes in the center of the PVC cap.
This should allow your 3/16 bar to slide in, but be close --fitting.
Insert the brass rod into the PVC cover and press the cover on the high pressure center column of the coil.
Make sure the brass rod is in good contact with the bottom.
Screw the threaded rod into the aluminum gasket.
Install a brass cotter pin on the top of the brass and threaded bars.
Slide the positive output lead over the positive output lead (+)
Marking terminals on coils.
Fix it with brass thumb nut.
Put the negative output lead in (-)
Marking the terminal.
Screw aluminum gasket--
Screw bar assembly on top of it and snuggle down.
This is the most critical step in the project.
Your choice of capacitor will be decided (if at all)
Normal coil operation
Film Capacitors with a rated voltage of at least 100 volts and 1 uF are used.
The 100 v may look low, but the upper limit rated voltage I used most successfully was 100 v, while the higher voltage rated upper limit only buzzes the coil.
Do not use electrolytic capacitors!
These look like small metal cans.
Even high voltage, high capacitance types fail on me every time.
They get hot, they swell, and there\'s even an explosion. No joke--
Ignore them!
Adhere to the type of film.
There may be others who can also work, but my best result is to salvage a hat from a computer monitor board.
Mark: MD 2.
2J 100 v 349 I measured the capacitance of this cover with a multimeter with a reading of 2. 178 microfarads.
With this lid I got good long sparks, cool operation, no overheating in the coil, switch or lid, even though I haven\'t run the coil for a long time.
The maximum time I have it running is 60 seconds.
I put my hat in the lower jaw of my clothes.
The lower lead to the output line crocodile clip and the upper lead to the dimmer switch.
Update starting at 3/23/09: I got some Metallized Polyester capacitors rated 2.
2 uF from eBay seller, 250 V.
They work very well and provide a larger range of outputs on the dimmer (
I mean, with higher settings I get more sparks than 100 v cap).
New cap: MP 2.
2 K 250 V tolerance rated 10%.
Updated to 4/22/09 while removing the remaining microwave, I came across a series of capacitors and I thought I would try the coil drive. (
These are not metal tank capacitors that are usually associated with microwave;
High pressure Film-type caps).
A few 3KV hats don\'t work, but a 4.
5 uF, the 250 V lid gives a bigger spark than anything I \'ve ever used before.
Discharge is longer, thicker and larger.
They\'re no longer blue.
White, like the previous hat, is just a bright orange color.
I would like to know if this indicates a lower temperature?
CAP: WF455J 250 V.
F: Update from 4/18/10: get better results with 10 uF, 330 v viot motor start uprun capacitor.
This is a large oval metal.
The body cap I found on eBay.
With the motor starting capacitor, the arc generated by the coil is more powerful.
I have successfully used this combination of coil and lid to power my desktop Tesla coil.
If you can get a motor start cap like this, use it anyway.
So you have assembled the parts and the coils are ready.
First make sure the dimmer switch is set to off \".
\"On my slider model, there is a bump or moderate at the low end of the slider stroke to indicate the closing position.
The twisted dial model usually has a pushon, push-
Turn off the power switch.
After turning off the switch, plug the power cord into the wall socket.
I chose one that happens to have RF (Radio frequency
It has a choke inside.
This helps to suppress any high power surge and bring the wires back into the residential circuit.
You can buy clips if your wire is not available
Reactor in Radio Shack.
These are attached to your existing wires.
Surge Protection is built into the dimmer switch.
I know this is normal for all modern dimmer switches.
Read the in-store packaging before purchasing.
The rated power of some dimmers is 600 watts, and the rated power of other dimmers is 750 watts, etc.
Even with the Accel Super coil, the 600 seems to be enough in my setup.
I also took precautions to insert GFI (
Grounding fault interruption)wall socket.
If there is a short circuit, the circuit breaker will trip.
Okay, you\'re connected.
Keep a healthy distance from the electrode and turn on the dimmer switch.
At the lowest setting of the switch, I got the brightest, loudest spark.
Pushing the slider up will weaken the spark until it finally disappears, leaving only a strong buzz.
The coil is still active at this level, just not generating enough power to jump the air gap between the electrodes.
The gap also affects the appearance and noise of the spark. A close gap--say, an inch--
Give you a loud, continuous bluewhite spark.
Open the gap (
Please turn off the current! )
Eliminate Sparks.
Always turn off the dimmer and unplug the power cord before making any adjustments to the coil!
In my opinion, this thing is about 30,000 volts.
The household air conditioner is broken.
It\'s a deadly combination, so don\'t mess around, okay?
The capacitor still maintains a strong charge even after the device is turned off and unplugged.
You can add components to prevent this, but my goal is to be simple.
You can safely discharge the capacitor by touching two leads at the same time with the shaft of a well-insulated screwdriver.
Hold the tool with an insulated handle, short-
Circuit leads.
You will see a flash and maybe a slight pop-up.
Once the lid is discharged, you can remove it and change it to another one, etc.
What can you do with a coil?
The spark is fascinating, but there is more to be done.
I use a coil to power the \"blitzkrieg\" which consists of transparent incandescent lamps mounted on a porcelain base.
If one lead wire is attached to the screw terminal base, the other lead wire is attached to the external terminal which is bent by the heavy wire (
Like a long coat hangar)
You can make a plasma ball.
Unlike the cute plasma ball you can touch, don\'t touch this ball!
Someone will definitely ask if you can power the Tesla coil with this set of devices.
You need other components to do this, but I will say yes.
I have not tried it, but I have read that others use the ignition coil as a power source for the Tesla coil.
Search the network to find other uses of the high voltage power supply.
Please be safe.
Good judgment and good technology are used when handling high voltage equipment.
Update 12/10/2015: this is another use of spark coils-
Dimmer switch device: After completing this write-
I want to try the carousel.
Style dimmer to see how it compares to the slider model I used for the first time.
Instead of going through the entire rigamarole of wooden cases, clothes, etc.
I just bought a plastic appliance box.
The kind used by the contractor when installing the house wiring).
Family Center and Walmart
The price of the supermarket is very cheap.
I bought a gray plastic for less than 30 cents.
Next, I found a new rotating style 600 W dimmer at Lowe\'s for less than $5.
Like any other home appliance switch, the dimmer is made to install such a standard size box, so it\'s all easy to combine.
With a simple curl connector, I connect the dimmer to 250 v, 2.
2 uF film capacitors (
25 cents hat)
Use two salvaged power cables to get in and out.
The total cost is less than $6.
It works very well.
The rotary switch is pushed into \"on\" and then adjusted by twisting the dial.
It seems to have a larger range of operations than the sliding switch.
Custom message
Related Products