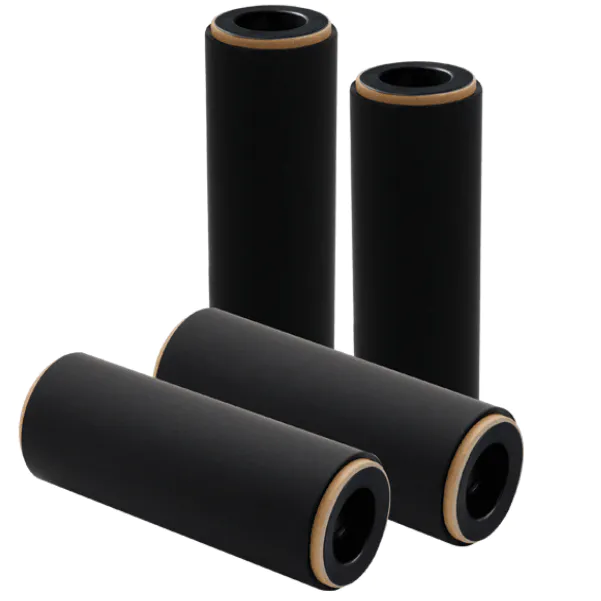
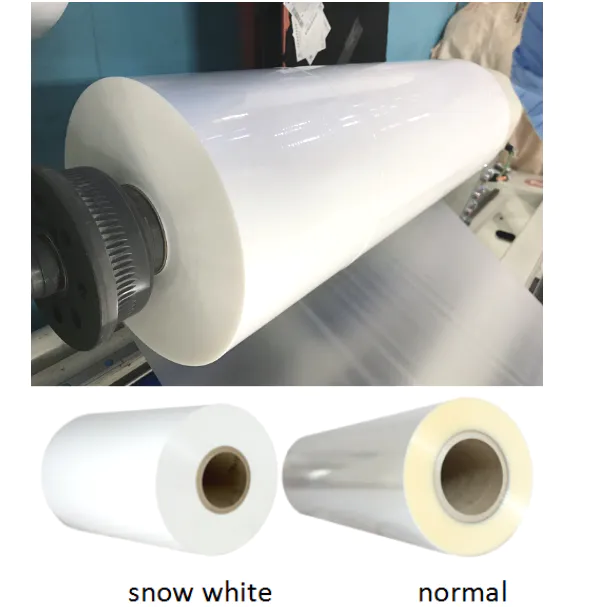
Carton Packing For Bopp Thermal Film And Soft Touch Film
Holga Camera Pinata
by:Top-In
2020-02-15
I \'ve always enjoyed working with paper mache and decided to make her Holga pinata for my friend\'s birthday because she loves photography.
If you have worked with paper mache before, you may know that there are many different ways to make pinata.
This is how I did it and it turned out to be a success.
Basic supplies: universal glue-
For month ozwaternewspaper page and stripsinflatable pool raftscissors, boxcutter, knife, hobby knifethin carton box
Beverage box, back Strip: packaging, masking or Scottish corrugated board all kinds of plastic and cardboard packaging, black paint white paint or print for detail foil, and plastic packaging glue for hanging 1
I started with my hands. drawn plan.
Then start collecting materials.
I suggest recycling/reuse everything as much as possible!
Look around you and use what you already have.
Don\'t worry too much about colors or textures.
Look at the shape.
Prepare your paper.
This is a chaotic process.
I\'m not going in-
About the depth of how to use paper mache.
If you are not familiar with it, search for paper mache technology quickly and jump in directly.
It\'s fun and easy if you like carving.
I like to use white Universal/school glue (
But flour and water were also used at critical moments, but the drying time was longer.
I don\'t like the wallpaper bonding method because I hate textures and smells. )
I mixed my paper paste about 1 piece of glue with 2 or 3 pieces of water.
I found this to be different from the brand of glue.
But I prefer the consistency of the soup.
Too thick means you need a lot of glue.
After the water evaporates, the paper is too thin to stick.
I mixed a large batch for such a large project and kept it in a closed plastic container.
In addition, tearing the box full of newspaper strips at the beginning can save later time.
Put a stack of old newspapers in your arms so that they can be built and shaped later.
Keep in mind that you have to work in stages to have the roll paper dry between two layers.
There is a fan open nearby to help speed up the drying. 2.
To make the cave in pinata, I bought an inflatable swimming pool raft for a dollar. 3.
I expanded it about half and folded it into thirty degrees, then fixed it in a rectangular shape of the camera body with packing tape.
Thin cardboard (soda packaging)
Make a shell around the inflatable raft.
I just did a quick and sloppy tape job.
No one looks at this part. 5.
Cut two sturdy corrugated cardboard rectangles as the front and back of the camera body.
I used the foamboard because I already have some suitable sizes.
Use hot glue on the edge and connect to a thin paper board instead of an inflatable raft.
This can lead to a whole and this part will soon lose support. 6.
Cover the entire rectangle with 2 to 3 layers of paper and dry it. 7.
Cut the height of the rectangle into two thin cardboard or poster boards, wide enough to fold to thirty degrees and cover the sides of the rectangle.
These will help create the tapered sides of Holga. 8.
Stick the two pieces of tape to the side and attach them along the edges before and after the rectangle.
This will create a cavity on both sides. 9.
Fill two holes with crumpled newspapers, which are slightly wet with paper paste.
No complete saturation is required. 10.
Seal the top and bottom with at least 2 layers of paper.
Use more crumpled newspapers when you go to fill in the sunken and uneven edges.
This is the best part about mache.
If the shape is wrong, you can quickly add more volumes in the area you need.
Let it dry completely. 11.
I created all the extra shapes on Holga with boxes and packaging.
Look around and see what the right size you have, cut it a little and stick the tape. 12.
For Holga\'s front fixing lens, I found a box of the right size and then made a circle with thin cardboard.
Now a quick tape job can assemble these parts together. 13.
My favorite part is to make in-lens.
Traveling to the dollar store, I found the perfect blister pack as a lens.
This is one of the \"touch lights\" operated from those batteries, but also look at the children\'s toys.
So many things are packed in such stupid plastic.
I am always happy to find use from other things that have been thrown away.
The black plastic comes from an empty garden container.
I\'m glad there are even those small ridges on the edge of the container.
Like a holga!
So using boxcutter, I cut the container off where the transparent plastic lens is placed inside.
Very few attempts and mistakes in order to get a good fit.
At this point, at the bottom of the container, I recorded a special message for the birthday girl. 14.
Then I fixed the lens in the \"lens shell\" with tape and a circle of corrugated cardboard. 15.
A large pack of blister packs for AA and C batteries becomes the \"switch\" at the top and bottom of the lens housing \"!
One for the \"sunny/cloudy\" setting and one for the \"B/N\" setting. 16.
Cover all of this with a layer of paper and fill in any gaps with crumpled little newspapers.
Because this part does not need to support any weight and it does not need to be handled too much, it is OK to have a thin layer of mache.
I pressed some clear plastic wrap on the lens to prevent it from dripping down. 17.
It\'s time to remove the inflatable part of the camera body!
Make sure the entire rectangle is covered with multi-layer paper to create a good cavity.
Remember, it has to accommodate all the goodies you put in it and take at least some good blows.
But too many layers is also a problem.
If the pinata is too thick, it may not break at all!
In this design, the area where I use solid cardboard is very hard, but the area where I use thin cardboard and posterboard will have some bending when squeezing. This is good.
If any area breaks and the paper is torn under slight pressure, you may want to cover a few more layers. 18.
I put the lens case where I want it, put it on the camera body and trace it around it with a shark. 19.
Then use a box
The tool I cut in the tracking line (For tight cooperation)
Remove the thick cardboard.
Pierce the raft, carefully remove it from the cavity, and take the time to peel it off where the roll paper or tape is stuck.
Check the cavity for the possibility of getting stuck with loose tape or holes of your item. 20.
Install the lens housing in the hole just cut.
Hope it is nice and comfortable but if some tape is not used. 21.
Cover with about two layers of paper.
Here I added the shutter release device with some folded cardboard and something covered with paper paste. 22.
Also, this is where I add the Holga top molded part using the end of the soda box.
Once again, stick the tape to the right place, and a thin layer of paper. Let dry. 23.
Here, I marked and cut the holes for the viewfinder and wind button, and the wind button is just a plastic container installed in the hole24.
Paint everything black and dry.
I used about 8 ounces of cheap acrylic. 25.
Everything else is just details.
Of course, I typed all the letters and numbers on the computer in the Helvetica font.
Holga is designed in Germany.
Then print it out on the white card paper with a faint gray outline and use the hobby knife to cut them out. I hand-
Painted the details of the man and the mountain and cut them out.
Thankfully, people\'s heads are made with punch holes.
I think it\'s crazy to cut so many laps. 26.
I make side clamps with corrugated cardboard.
I took a stiff pencil and pressed it between cardboard to make a ridge.
Then I covered them with aluminum foil. 27.
The switch at the back uses corrugated cardboard.
I cut out the shape, painted it, and created the small \"Red Window\" 28 with a clearer plastic package and some red paper towels.
Put it together now.
Front: stick all the fonts with glue.
A small viewfinder window was created from the painted cardboard square and some transparent plastic packaging.
Side: stick to foil-
Side clips of the package.
I cut a hole in each side with a long knife and inserted a red nylon rope to act as a camera strap and a lanyard.
I knotted the rope by arriving inside the hole cut for the wind knob. .
Back: stick to the switch.
Find a yogurt container with an obvious dome on top.
I drew the side over and installed it on a cut as a viewfinder.
Top: stick to the symbol with glue.
Make \"hot shoes\" with folded cardboard wrapped on foil \".
Bottom: stick to the B/N switch letter.
I didn\'t make a tripod stand because my switch was a bit too large. 29.
Fill the pinata with a lot of goodies and cover a plastic container \"wind knob\" painted black and stuck in place.
Ready for the carnival!
In fact, my friend likes it very much and she doesn\'t want to spoil it.
The weather is not good.
So we opened the container of the \"wind handle\", cut the bottom and removed all the delicious things.
I plan to convince her to refill and break it in a beautiful summer. Can\'t wait.
Custom message
Related Products