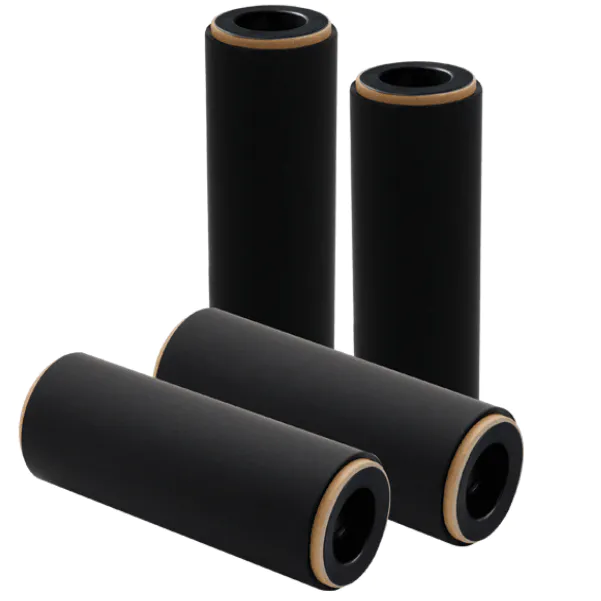
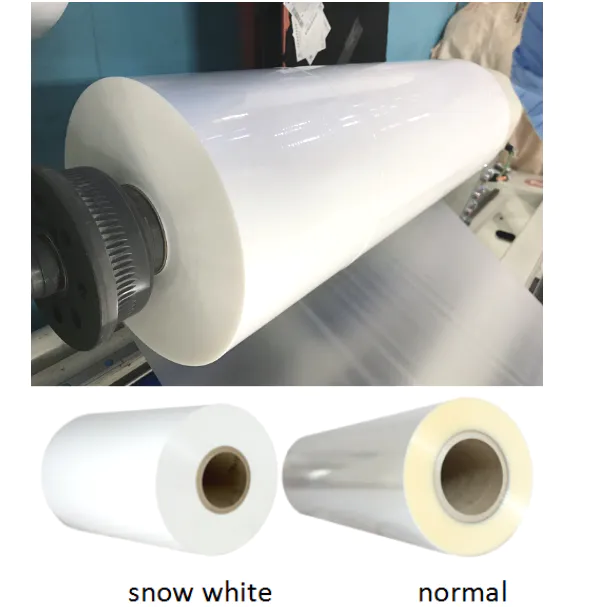
Carton Packing For Bopp Thermal Film And Soft Touch Film
How to Make Space Rations (Part 1: Solid Food)
by:Top-In
2020-02-15
I have always loved space and even wanted to be an astronaut since I was a child (
Like all the kids! ).
I like to be a man who venture into the New World, who discovers unknown things and tries new ways to send humans into new, undiscovered fields.
In this note, I will mix my childhood fascination with stars and space with my other hobby-cooking.
I will show you how to create a meal pack from a normal home item similar to that used in a NASA mission.
In order to make the ration pack you need a durable and lightweight package, I chose an old milk case as it has a layer of plastic foil and paper similar to what NASA uses.
Interesting fact: the same manufacturer that produces packaging for the brand of Capri Sun also produces packaging for NASA, so if you live in a place where you can get Capri Sun (
They don\'t sell where I live)
You may then want to try the instructions using their packaging.
I will then show you how to fill and seal it with any type of food you want.
This is the first part of the series I plan to make, including: Beverage Bags, better sealing methods and automatic re-sealing
Like they did on the International Space Station.
This is just a starting note, and this is my first note, and I would like to make some suggestions in the comments on how I can improve.
Also, I would appreciate it if you could vote for me!
You probably didn\'t think space food would be so complicated.
But there is an amazing idea of sending plastic packaging of dehydrated organic matter into space, after all, which is one of the essential.
The space industry has five main requirements when designing meal packs: we can solve these problems by: 1)
Clean and disinfect everything thoroughly. 2)
Compact everything. 3)using light-weight foods. 4)
Make sure you have a mixture of protein, fiber, vitamins, etc in your meal bag. 5)
Since I have no access to the special materials used by NASA, I will wrap them on aluminum foil to help reflect the sun and keep our food cool.
Now that we have this theory, we can start the interesting part: actually do the rations!
In order to make the bag that the food will be stored, you need to: in order to make the ration bag, you need to get the milk case, remove the whole cover assembly, to do this, just grab the lid, still unscrew and tear it off at the same time.
Then, cut the top off the carton and cut one of the edges.
After that, you need to remove the bottom so that the rest of the carton can be flattened.
Then cut out the template (
See previous step)
And stick it to non
Stick the glue to the shiny side of the milk box and cut it off. (
I made the mistake of putting it on the foil edge.
Although it may be OK, it is not the best idea to eat glue. )
Now that you have made the shape of the package, fold the carton along the dotted line, shiny side.
Expand the carton and peel off the template.
The fun part is coming, playing with fire!
No, not really, just seal the edge of cartonThen with heat, cut a piece of baking paper, a little longer than the edge length of the sticky relative sideouty-bit (
Yes, this is a technical term)
It\'s about half the width of your thumb. Re-
Fold the carton and fold the middle of the baking paper along the length of the fold edge you will seal.
Now is the best time to heat the straightener, iron or soldering iron.
Carefully hold the baking paper along the length of the folded carton, be sure not to let your fingers block.
If you are using an iron straightener, please press the carton firmly on the side of the straightener or iron 2-3 seconds.
Cool on one side.
If you use a soldering iron, follow the previous steps, but instead of leaning the carton against the iron, run the iron slowly along the length of the package.
When finished, take out the baking paper, fold a piece of tape on the edge, replace the baking paper and re-heat it.
Pay special attention to the corner.
This is to prevent the layering of cartons.
Repeat to other sides except the outermost part of the neck (a. k.
A: It\'s sticky. )
You must first check its seal before you fill in the package.
To do this, gently blow into the neck of the bag until it expands like a balloon.
But don\'t blow too hard, or you will crack the seams.
If there is no air leak then you can continue to fill it and refill it if it does leak
Apply tape and re-seal(
See previous step).
Now that you have a fully functional container, you will want some kind of food to fill it up.
For me, I chose muesli with dehydrated milk powder because it is light and durable and tastes good after repackaginghydrating.
You can choose whatever you want, but just remember to make sure it\'s dehydrated and can be heated in some way without being destroyed.
You also need to calculate and remember how much water you need to add to my water, dry milk needs 1/4 to a glass of water from a cup of dry milk powder, and I will start counting from there.
To make sure the food is sterile so it doesn\'t expire, you need to heat it up.
Since I chose muesli, there is no problem putting it in the oven, just put it on the tray and bake at 120 degrees for about 2 minutes.
If you are using hot-sensitive food, you can put the food in a clear plastic bag and the torch goes through the side and shakes for 1 minute.
I suggest you do the same in order to disinfect the packaging:)
Emit ultraviolet rays in the bag. OR B)
Pour some cheap vodka if you don\'t mind a little taste, shake it for 10 seconds and let it sit for 5 minutes. (
Don\'t forget to pour it out before refueling! )
Now that you \'ve finally finished all the preparations, it\'s time to fill it up!
Fill the container with a funnel for about 3/4.
Remember to put everything in the corner with chopsticks.
Remove the rubber cork from the wine saver and place it in the neck of the container (
Leave about 1/4 for sealing)
Ensure a tight seal.
You may need to put some tape around the stopper for the time being.
Use the hand pump in the wine saver kit to vacuum in the package.
I won\'t discuss too many details here, because the usage of different brands may vary, so just follow the instructions.
Cut another piece of baking paper so you can wrap it around the two edges of the Straightener (or hot thing)
Pinch the bottom of your neck (
Under the Cork and the seams you\'re going to make)
And Straightener (
Or anything you are using)
Along the length of the neck.
Make sure to do this on the hot side of the content.
Continue to pinch your neck until the seam is backhardened.
You may need to put some tape and re-
Heat it to ensure a tight seal.
Look, you managed to make a ration pack!
You are going to space now. (Not really)
Now is the best time to pack the ration pack with foil paper, which is to prevent it from being damaged by light.
Remember to mark the package with the content, the amount of water to replenish the moisture and, more importantly, the date you make the package.
Although it should last forever, I can\'t advise you to eat these things after a long period of time for legal reasons, and it\'s not my fault if your food is poisoned.
To prepare the food, just pour in the amount of water needed to replenish the water to eat!
Good luck, as always, have fun!
Custom message
Related Products